So, you did it. You’ve unboxed your brand-new, gleaming citrus juicer. You can already taste the fresh, vibrant orange juice and smell the zesty lemon notes for your morning water. But wait, what’s that other smell? It’s not citrus. It’s… plastic? Manufacturing? Whatever it is, it’s not exactly appetizing. If you’re wondering How To Get Rid Of A New Appliance Smell, you’ve come to the right place. I’ve unboxed more juicers than I can count, and that “factory fresh” scent is something we need to tackle before we get to the good stuff.
Let’s be real, nobody wants their first glass of sunshine-in-a-cup to have a hint of industrial mystery. The great news is that this smell is completely normal and, more importantly, very easy to eliminate. Think of it as the final step in welcoming your juicer into your home. You’re about to transform it from a box-fresh gadget into a trusted kitchen companion.
First, What Exactly Causes That “New Appliance” Smell?:max_bytes(150000):strip_icc()/faw-tier-3-citrus-juicers-breville-citrus-press-pro-juicer-rkilgore-191-3416420584c84f7088f8d15a9f57fb7d.jpeg)
Before we dive into the solutions, it helps to know what you’re dealing with. It’s not some strange kitchen gremlin, I promise. That distinct odor is usually a harmless cocktail of things left over from the manufacturing process.
- Plastic Off-Gassing: Many appliance components are made from plastic. When new, they can release volatile organic compounds (VOCs), which have a noticeable smell. This is especially true for parts sealed in packaging for a while.
- Protective Coatings & Lubricants: To keep your juicer pristine and ensure its motor parts move smoothly, manufacturers often use food-safe oils, waxes, or coatings. These can have a slight industrial scent that needs to be washed away.
- Packaging Materials: Cardboard, foam, and plastic wrap all have their own smells that can get trapped inside the appliance during shipping.
The key takeaway? It’s temporary and surface-level. Nothing a little kitchen know-how can’t fix.
The Pre-Juice Ritual: A Step-by-Step Cleaning Guide
This is your first, non-negotiable step. Don’t even think about plugging it in until you’ve given it a proper welcome bath.
- Disassemble with Care: Take apart all the removable components. This usually includes the lid, the reamer (the cone-shaped part), the pulp filter, and the juice container. Your user manual is your best friend here.
- Give It a Sudsy Soak: Fill your sink with warm, soapy water. Use a gentle dish soap—nothing with harsh chemicals or abrasive agents. Let all the parts soak for about 10-15 minutes.
- Scrub Gently: Use a soft sponge or cloth to wash every nook and cranny. Pay special attention to the pulp filter, as tiny particles can get trapped in the mesh.
- Rinse Thoroughly: Rinse every piece under cool, running water until all the soap residue is gone. You don’t want your orange juice tasting like dish soap, either!
- Air Dry Completely: This is crucial. Place all the parts on a drying rack or a clean dish towel and let them air dry completely. Trapped moisture can lead to other unwanted smells down the line.
For many juicers, this initial wash is enough to significantly reduce or even eliminate the smell. But if a faint odor lingers, it’s time to bring in the natural deodorizing champions.
Natural Solutions for How to Get Rid of a New Appliance Smell
Forget harsh chemical cleaners. Your kitchen pantry holds the most effective, food-safe solutions for neutralizing those stubborn leftover scents. These are my go-to methods.
The White Vinegar Solution
White vinegar is the undisputed king of natural cleaning and deodorizing. Its acetic acid works wonders at breaking down and neutralizing odor-causing molecules.
- Create the Mix: In a large bowl or your clean sink, mix a solution of one part white vinegar to three parts warm water.
- Soak It Up: Submerge all the washable parts of your juicer in this solution for at least 30 minutes. An hour is even better for a more persistent smell.
- Rinse and Dry: After the soak, give everything another thorough rinse with plain water to remove the vinegar smell and let it air dry completely.
“Vinegar is a fantastic choice because it neutralizes alkaline odors without leaving behind any harmful residue. Once it evaporates, the vinegar scent disappears completely, taking the unwanted appliance smell with it.” – Dr. Eleanor Vance, Food Scientist.
The Baking Soda Power Paste
Baking soda is a gentle abrasive and a brilliant odor absorber. If you’re dealing with a particularly stubborn plastic smell, this is your best bet.
- Make a Paste: In a small bowl, mix a few tablespoons of baking soda with just enough water to form a thick paste, similar to the consistency of toothpaste.
- Apply and Rest: Gently rub this paste over the interior surfaces of the juicer’s plastic components. Let it sit for about 15-20 minutes.
- Scrub and Rinse: Using a soft, damp sponge, gently scrub the surfaces. The baking soda will help lift any residue. Rinse everything meticulously until all the baking soda is gone.
The Ultimate Citrus JuicerR Method: Fight Fire with Fire!
This is my personal favorite, and it’s perfectly on-brand for us citrus lovers. Why use anything else when the solution is right in your fruit bowl?
- Run a “Cleaning” Cycle: After washing and drying your juicer, assemble it. Take one or two lemons or a large orange, cut them in half, and juice them.
- Let it Sit: Don’t discard the peels! Toss a few of the spent peels into the juice container and on the reamer. Let the natural citrus oils sit on the surfaces for about an hour. The powerful citric acid and aromatic oils are fantastic at cutting through and replacing any lingering odors.
- Final Rinse: Disassemble the juicer one last time and give it a quick, final rinse with water.
Now, your juicer not only smells clean, but it smells like what it was born to do: make delicious citrus juice.
|
Our Picks for the Best Citrus Juicer in 2025
As an Amazon Associate, we earn from qualifying purchases.
|
||
| Num | Product | Action |
|---|---|---|
| 1 | BLACK+DECKER 32oz Electric Citrus Juicer, CJ625, Pressure Activated, Adjustable Pulp Control, Dishwasher-Safe |

|
| 2 | Zulay Kitchen Cast-Iron Orange Juice Squeezer - Easy-to-Clean, Heavy-Duty, Professional Citrus Juicer - Stainless Steel Lemon Squeezer - Manual Citrus Press & Orange Squeezer - Orange Juicer (Black) |
|
| 3 | Chef\\\'n Freshforce Citrus Juicer (Lemon), 10.25 long |
|
| 4 | Hurom H400 Cold Press Juicer Machine, Award Winning Masticating Slow Juicer, Easy to Clean, Strainer & Hands Free with Self Feeding, Wide Mouth Hopper, Easy Assembly (White) |
|
| 5 | Vinci Hands Free Electric Citrus Juicer, 1-Button Juicer Machine, Orange Lime Grapefruit Lemon Squeezer, Easy to Clean Orange Juicer Squeezer, Black/Stainless Steel |
|
| 6 | Elite Gourmet ETS740 BPA-Free Electric Citrus Juicer with 2 Cones, Compact, Large Volume, Pulp Control, Oranges, Lemons, Limes, Grapefruits with Easy Pour Spout, 1.2L, Black/Stainless Steel |
|
| 7 | Hurom H320 Cold Press Juicer Machine, Easy to Clean Masticating Slow Juicer, Coarse Strainers, Self-Feeding, Hands Free, Family Size, Quiet Motor, Easy Assembly (Kale/Dark Green) |
|
| 8 | Vinci Hands Free Electric Citrus Juicer, 1-Button Juicer Machine, Orange Lime Grapefruit Lemon Squeezer, Easy to Clean Orange Juicer Squeezer, Black/Stainless Steel |
|
| 9 | Juicer Machines with 5.4\\\" Large Feed Chute, 400W Cold Press Juicer for Whole Vegetables and Fruits, Slow Masticating juicer Easy to Clean Juice Extractor Machine High Juice Yield(Titanium Gray) |
|
| 10 | Cuisinart CCJ-500P1 Pulp Control Citrus Juicer, 1, Black/Stainless |
|
Does the Material of Your Juicer Make a Difference?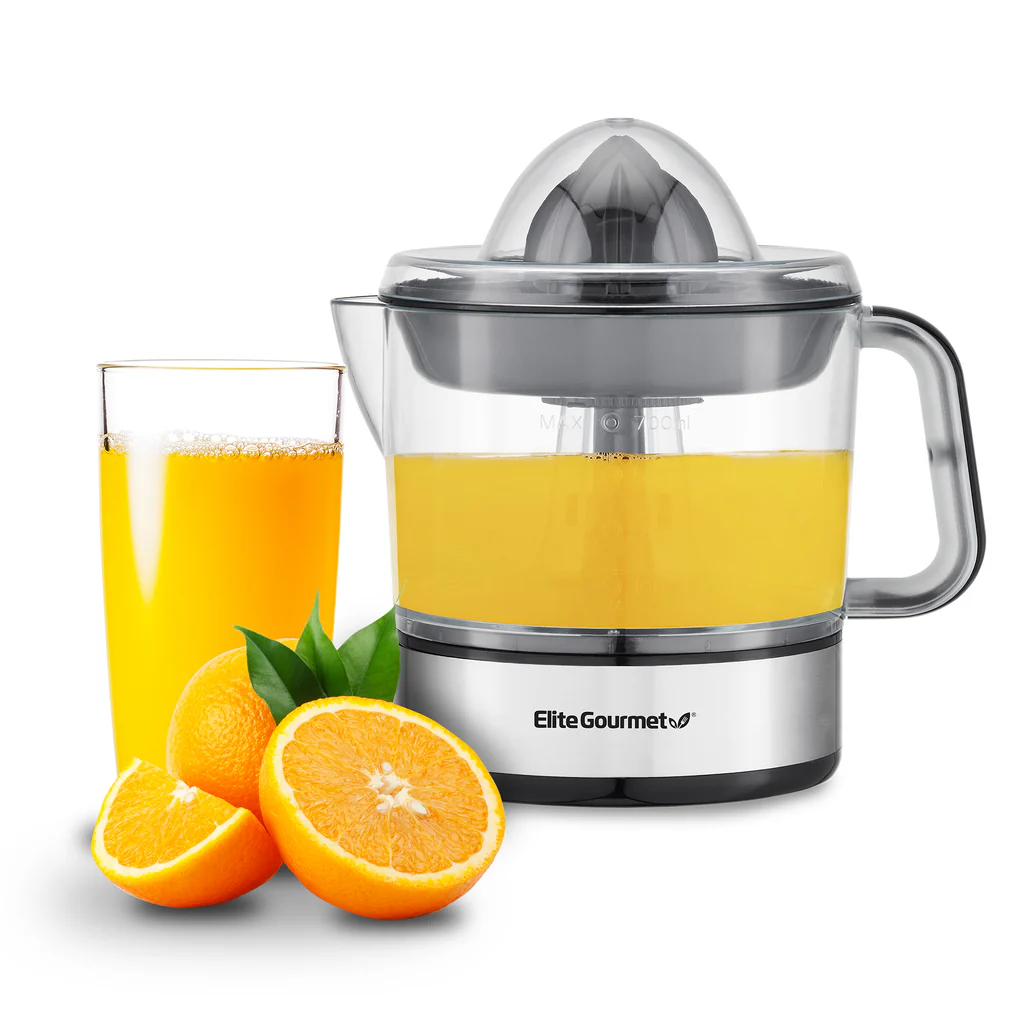
Absolutely. When you’re shopping for a juicer, the materials it’s made from can give you a clue about its potential for that “new appliance smell.”
- Stainless Steel: Juicers with mostly stainless steel components tend to have very little initial odor. The metal is non-porous and doesn’t off-gas. A quick wash is usually all it needs.
- Glass: A glass carafe or container is another excellent choice for odor resistance. Like steel, it’s non-porous and easy to clean.
- BPA-Free Plastic: This is the most common material for juicer components. High-quality, BPA-free plastic is the standard for food safety, but it is the most likely source of off-gassing. However, reputable brands like ours use premium plastics that have minimal initial odor and dissipate it quickly.
If you’re particularly sensitive to smells, looking for a model with more stainless steel or glass parts can be a good strategy.
Frequently Asked Questions
Is the new appliance smell harmful?
Generally, no. The smells from new, food-grade appliances are from harmless manufacturing residues and off-gassing of approved materials. While unpleasant, they are not considered a health risk, especially after a thorough initial cleaning.
How long will the new appliance smell last if I don’t do anything?
It depends on the appliance and the ventilation in your kitchen. The smell will typically fade on its own over a few days or a couple of weeks of use and washing. However, performing the deep cleaning steps we outlined will solve the problem in a matter of hours.
Can’t I just use the juicer and let the smell go away on its own?
We strongly advise against this. Juicing without washing first can impart those unpleasant chemical and plastic tastes directly into your food. Always, always wash a new appliance before its first use.
Should I use bleach or other harsh chemicals to get rid of the smell faster?
Absolutely not. Harsh chemicals like bleach can damage the plastic components of your juicer, cause discoloration, and leave behind harmful residues that are unsafe for consumption. Stick to natural, food-safe cleaners like vinegar, baking soda, and dish soap.
How can I keep my juicer from developing bad smells in the future?
Easy! Clean it immediately after every use. Don’t let pulp and juice residue sit and ferment. A quick rinse and wash right after you’ve enjoyed your juice is the best way to keep your machine fresh and ready for its next use.
Your Fresh Start Awaits
That initial “new gadget” aroma is just a tiny, temporary hurdle on your path to delicious, homemade juice. By following these simple, natural steps, you’ll know exactly how to get rid of a new appliance smell and prepare your juicer for a long and fruitful life in your kitchen. You’ve invested in your health and well-being, and now your machine is perfectly prepped and ready to go. Go ahead, grab those oranges, and start your juicing journey on the freshest note possible.