Let’s be honest, we’ve all been there. You’ve just made a glorious, sun-kissed glass of fresh orange juice. You’re feeling vibrant, healthy, and ready to conquer the day. But then you turn to the sink and see it: The Juicer. Clogged with a stubborn, stringy mesh of pulp that seems to have fused itself to the filter. The blissful moment is over, and the chore begins. Knowing How To Remove Pulp From A Juicer effectively is the one thing that stands between you and consistent, daily juicing joy.
It’s a common story, and it’s the number one reason people let their beautiful juicers gather dust in a cupboard. But I’m here to tell you it doesn’t have to be a battle. As the lead voice here at Citrus JuicerR, I’ve spent countless hours testing, cleaning, and yes, scraping, all in the name of the perfect juice experience. Forget the frustration. We’re going to turn this dreaded task into a quick, simple, and almost satisfying part of your routine.
Why Does Pulp Get So Stubbornly Stuck Anyway?
Ever wondered why that citrus pulp clings for dear life? The answer lies in simple biology. Pulp is primarily made of cellulose fiber, which is fantastic for your digestion but notoriously sticky and web-like, especially when wet. Your juicer’s filter or sieve is designed with tiny holes to separate liquid from solids, making it the perfect trap for these fibers. When you let it sit, the sugar in the juice acts like a natural glue, and the pulp dries into a concrete-like substance.
The Step-by-Step Method for How to Remove Pulp from a Juicer
The absolute best way to tackle this task is with a consistent, immediate method. This isn’t about brute force; it’s about working smart. Follow these steps, and you’ll cut your cleaning time in half.
Step 1: Act Fast – Don’t Let It Dry!
This is the golden rule. The moment you’re done pouring your juice, take your juicer to the sink. Rinsing the parts while the pulp is still wet will remove 90% of the residue with almost no effort. Seriously, this one habit will change your life.
Step 2: The Disassembly Dance
Quickly and safely take your juicer apart. You should be familiar with its main components: the plunger, the lid, the filter basket (the main culprit), the pulp container, and the juice jug. Place them all in the sink.
Step 3: The Initial Rinse
Using warm running water, rinse each component thoroughly. For most parts, this will be enough. Pay special attention to the filter basket. Spray it from both the inside and the outside to dislodge as much of the clinging pulp as possible.
Step 4: The Soaking Solution (For Tough, Dried-On Pulp)
If you’ve slipped up and let the pulp dry (it happens!), don’t panic. Fill your sink or a basin with warm water and add one of these two cleaning boosters:
- A splash of white vinegar: Its acidity helps break down the sugary bonds.
- A tablespoon of baking soda: It acts as a gentle abrasive and deodorizer.
Let the parts, especially the filter, soak for about 10-15 minutes. This will do most of the hard work for you.
Step 5: The Gentle Scrub (Your Secret Weapon)
After soaking, it’s time for a little elbow grease. The key is to use the right tool. Most juicers come with a specially designed nylon brush—use it! Its stiff bristles are perfect for getting into the tiny holes of the mesh filter without damaging it. If you’ve lost yours, a firm dish brush or even a new toothbrush will work in a pinch. Scrub the filter in a circular motion on both sides until all visible pulp is gone.
Step 6: The Final Rinse and Air-Dry
Give all the components one last rinse under clean water to wash away any remaining pulp or cleaning solution. Place them on a drying rack and let them air-dry completely before reassembling. This prevents any potential mildew or funky smells.
Prevention is Better Than a Cure: Minimizing Pulp Buildup
The ultimate guide on how to remove pulp from a juicer must include prevention. Here are a few pro tips to make the job even easier next time:
- Line the Pulp Bin: Place a small compostable bag in your pulp collector. When you’re done, you just lift the bag and toss it in the compost. No rinsing required.
- The Water Trick: For centrifugal juicers, try running a cup of water through the machine after you’ve juiced your fruit but before turning it off. This can help flush out a good amount of the internal pulp.
- Choose Your Juicer Wisely: Some juicers are simply designed to be easier to clean than others.
Does the Type of Juicer Affect How Hard It Is to Clean?
Absolutely. The design of your juicer plays a massive role in the cleaning process. Not all juicers are created equal when it comes to the post-juice cleanup, and understanding the difference can be a game-changer.
Manual Citrus Juicers
These are the simplest and, by far, the easiest to clean. Whether it’s a classic glass reamer or a handheld squeezer, you’re usually dealing with one or two simple parts that can be rinsed in seconds. They are perfect for making a quick glass of orange or lemon juice.
Electric Citrus Juicers
A step up from manual, these feature a motorized reamer. They have a few more parts (base, reamer cone, filter), but they are still incredibly straightforward to clean. Most models, like our very own Citrus JuicerR, feature dishwasher-safe parts, making the process almost effortless.
At Citrus JuicerR, we obsessed over this cleaning dilemma. We designed our flagship juicer with a non-stick, wide-mesh filter and components that click apart in seconds. They are 100% dishwasher safe, turning the dreaded cleanup into a simple, two-minute task.
|
Our Picks for the Best Citrus Juicer in 2026
As an Amazon Associate, we earn from qualifying purchases.
|
||
| Num | Product | Action |
|---|---|---|
| 1 | Hurom H400 Cold Press Juicer Machine, Award Winning Masticating Slow Juicer, Easy to Clean, Strainer & Hands Free with Self Feeding, Wide Mouth Hopper, Easy Assembly (White) |

|
| 2 | Vinci Hands Free Electric Citrus Juicer, 1-Button Juicer Machine, Orange Lime Grapefruit Lemon Squeezer, Easy to Clean Orange Juicer Squeezer, Black/Stainless Steel |
|
| 3 | Elite Gourmet ETS740 BPA-Free Electric Citrus Juicer with 2 Cones, Compact, Large Volume, Pulp Control, Oranges, Lemons, Limes, Grapefruits with Easy Pour Spout, 1.2L, Black/Stainless Steel |
|
| 4 | Vinci Hands Free Electric Citrus Juicer, 1-Button Juicer Machine, Orange Lime Grapefruit Lemon Squeezer, Easy to Clean Orange Juicer Squeezer, Black/Stainless Steel |
|
| 5 | Chef\\\'n Freshforce Citrus Juicer (Lemon), 10.25 long |
|
| 6 | Juicer Machines with 5.4\\\" Large Feed Chute, 400W Cold Press Juicer for Whole Vegetables and Fruits, Slow Masticating juicer Easy to Clean Juice Extractor Machine High Juice Yield(Titanium Gray) |
|
| 7 | Cuisinart CCJ-500P1 Pulp Control Citrus Juicer, 1, Black/Stainless |
|
| 8 | Zulay Kitchen Cast-Iron Orange Juice Squeezer - Easy-to-Clean, Heavy-Duty, Professional Citrus Juicer - Stainless Steel Lemon Squeezer - Manual Citrus Press & Orange Squeezer - Orange Juicer (Black) |
|
| 9 | BLACK+DECKER 32oz Electric Citrus Juicer, CJ625, Pressure Activated, Adjustable Pulp Control, Dishwasher-Safe |
|
| 10 | Hurom H320 Cold Press Juicer Machine, Easy to Clean Masticating Slow Juicer, Coarse Strainers, Self-Feeding, Hands Free, Family Size, Quiet Motor, Easy Assembly (Kale/Dark Green) |
|
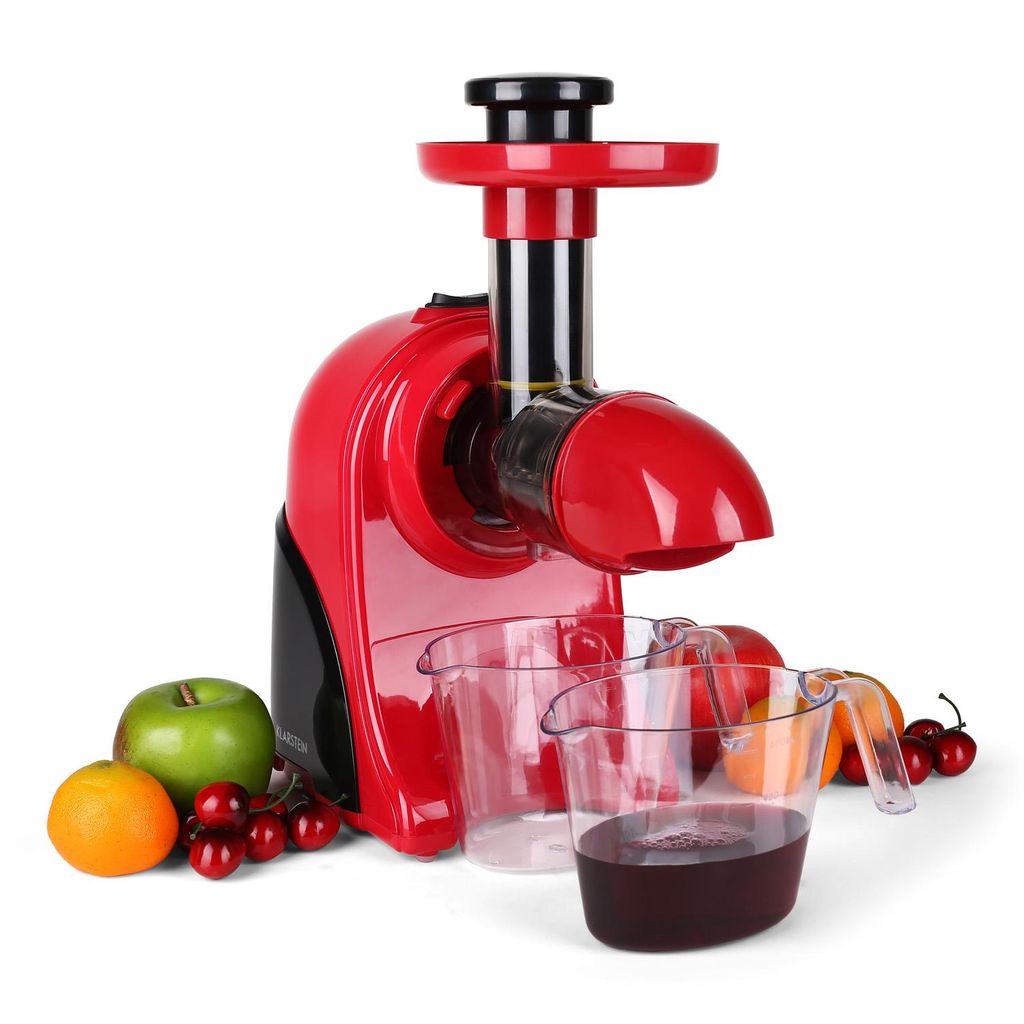
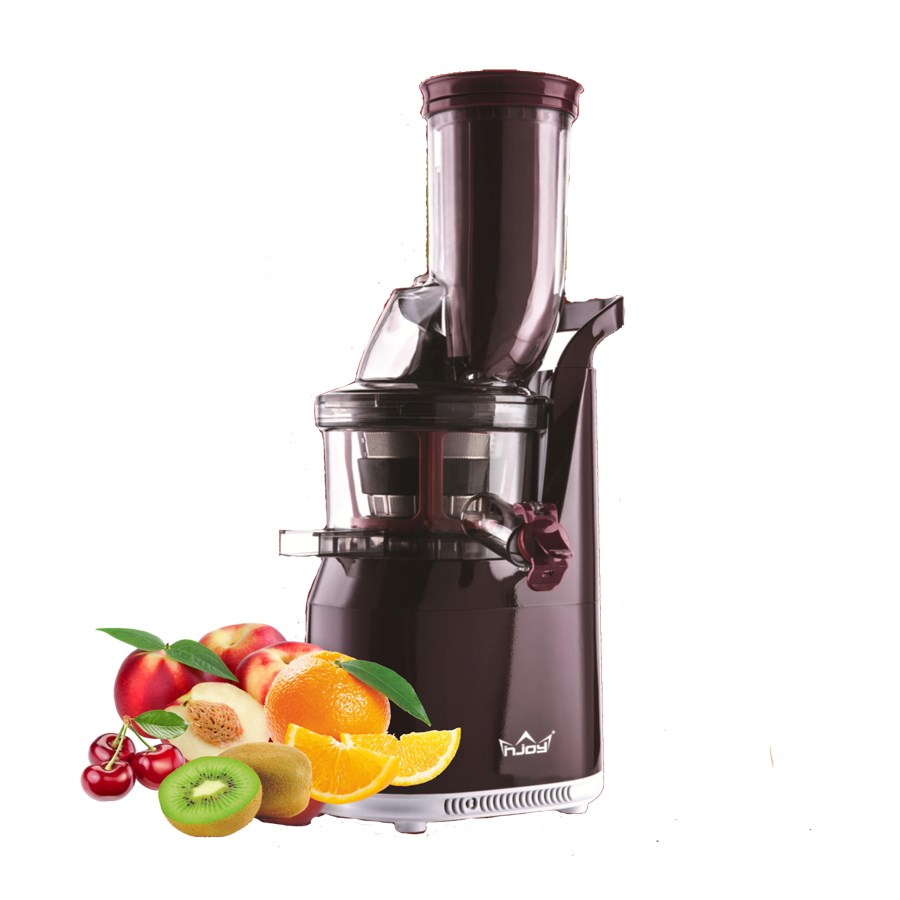
Centrifugal & Masticating Juicers (The Big Guns)
These are powerful machines that can handle everything from carrots to kale. However, their complexity means more parts and, typically, a more involved cleaning process. The fine mesh screen of a centrifugal juicer is particularly notorious for trapping pulp. While powerful, they require a firm commitment to the “clean immediately” rule.
Beyond the Clean: What Can You Do With Leftover Pulp?
Don’t just toss that pulp! It’s packed with fiber and nutrients. Instead of seeing it as waste, think of it as a bonus ingredient.
- Bake it: Add citrus pulp to muffin, bread, or pancake batter for a boost of fiber and a subtle zesty flavor.
- Boost your smoothies: Freeze pulp in ice cube trays and pop a cube into your next smoothie.
- Compost it: Your garden will love the nutrients. It’s a fantastic addition to any compost pile.
- Make flavored ice cubes: Mix the pulp with a little water or juice, freeze, and add to drinks for a decorative and tasty touch.
Frequently Asked Questions (FAQ)
What is the best tool to clean a juicer screen?
The best tool is the nylon brush that typically comes with your juicer. Its bristles are designed to be stiff enough to dislodge pulp from the fine mesh without scratching or damaging it. A firm-bristled dish brush is a good alternative.
How often should I deep clean my juicer?
You should rinse your juicer immediately after every single use. A “deep clean,” involving a soak and a thorough scrub, should be done at least once a week, or more often if you notice any buildup or staining.
Can I put my juicer parts in the dishwasher?
It depends entirely on the manufacturer’s instructions. Many modern juicers, including the Citrus JuicerR, have dishwasher-safe parts (top rack only). However, the fine mesh filter often benefits more from a quick manual scrub to ensure all holes are clear. Always check your user manual first.
Is it bad to leave pulp in my juicer overnight?
Yes, it’s highly recommended you avoid this. Leaving pulp overnight allows it to dry and harden, making it significantly more difficult to clean. It can also lead to staining and the growth of bacteria or mold.
How can I get rid of fruit and vegetable stains on my juicer?
For stubborn stains, especially from carrots or beets, you can make a paste of baking soda and water. Apply it to the stained area, let it sit for 15-20 minutes, and then scrub gently with your brush before rinsing.
The Joy of Juicing Without the Mess
Mastering how to remove pulp from a juicer is the key to unlocking a seamless and enjoyable juicing habit. It’s not about scrubbing for ages; it’s about creating a quick, efficient routine. By cleaning immediately, using the right tools, and perhaps even choosing a machine designed for easy maintenance, you transform a chore into a simple final step. Now you can focus on what truly matters: savoring that delicious, nutrient-packed fresh juice, day after day.