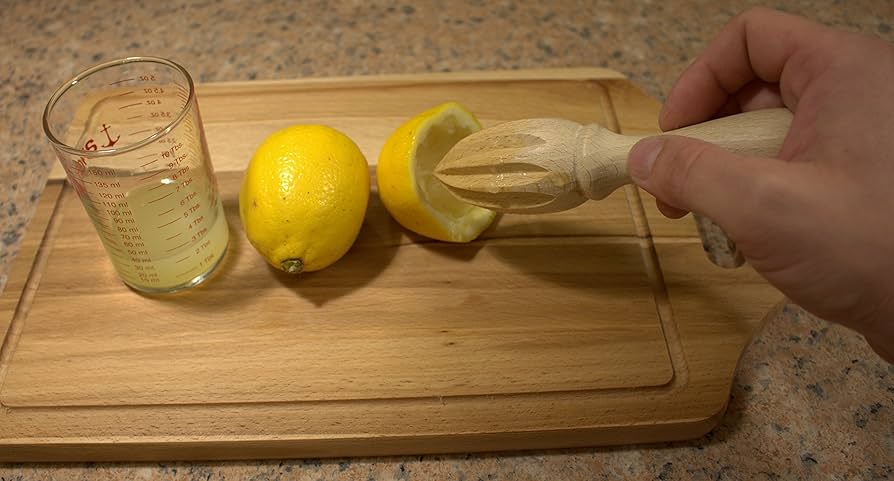
Let’s be honest, we all love the fresh, vibrant taste of citrus juice, but the cleanup? Not so much. While we diligently scrub the pitcher, sieve, and reamer, there’s one crucial part that often gets overlooked: the base. Knowing exactly How To Clean The Base Of The Juicer is not just about keeping it looking pretty; it’s about hygiene, performance, and protecting the heart of your beloved machine. That sticky residue and those hidden drips can become a real headache down the line. So grab a cloth, and let’s dive into making your juicer’s foundation as pristine as the day you unboxed it.
Why You Absolutely Can’t Ignore Your Juicer’s Base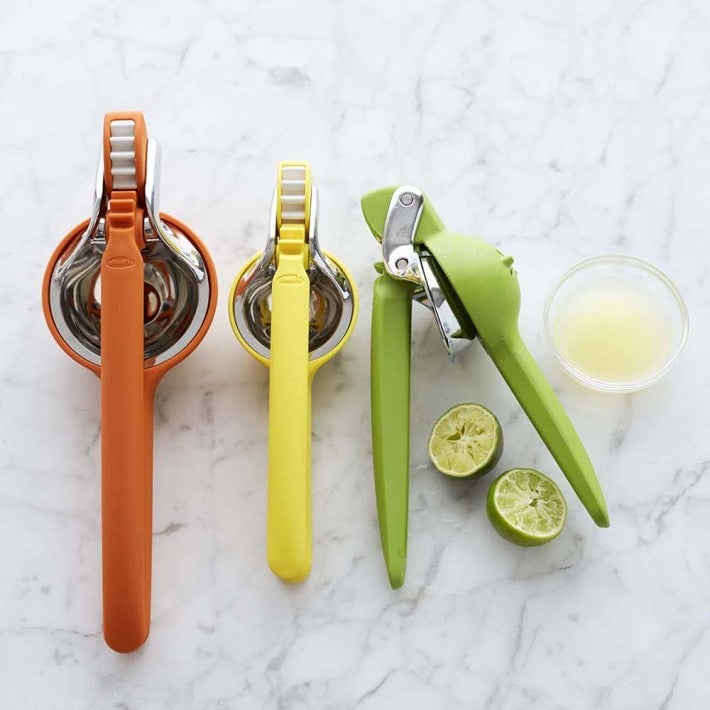
You might be thinking, “It’s just the base, the juice doesn’t even touch it, right?” Wrong. Think of all the little drips that escape when you lift a juicy orange half, or the occasional splash that flies out during an enthusiastic juicing session. These drips, full of sugar and citric acid, are a magnet for trouble.
I remember one time, after a busy week of making morning orange juice, I noticed a few fruit flies buzzing around my kitchen. I couldn’t figure out where they were coming from until I moved my juicer. Underneath and around the base was a sticky, semi-hardened puddle of old juice I hadn’t even noticed. It was a wake-up call!
Here’s what you’re preventing when you regularly clean the motor base:
- Sticky Buildup: Sugary residue becomes a tacky mess that can attract dust, pet hair, and other kitchen grime.
- Pest Attraction: As I learned the hard way, fruit flies and ants love a sugary feast. A clean base makes your kitchen far less inviting to them.
- Mold and Bacteria: Any damp, sugary environment is a potential breeding ground for nasty microbes. Keeping the base clean and dry is crucial for a hygienic kitchen.
- Motor Damage: Spills can seep into vents or seams, potentially damaging the electrical components and motor over time. A little preventative cleaning can save you a costly replacement.
Gathering Your Cleaning Arsenal: What You’ll Need
Before we get into the nitty-gritty, let’s gather our tools. The good news is you probably have everything you need right in your kitchen. We’re aiming for effective but gentle—no harsh chemicals needed.
- Two or three soft microfiber cloths: One for washing, one for rinsing/drying. Microfiber is excellent because it picks up dirt without scratching the appliance’s surface.
- A soft-bristled brush or an old toothbrush: This is your secret weapon for getting into tight corners, seams, and around buttons.
- Mild dish soap: A simple, gentle soap is perfect for cutting through sugary stickiness.
- White vinegar: A fantastic natural sanitizer and deodorizer.
- Baking soda: For those extra stubborn, dried-on spots, a baking soda paste works wonders.
- Cotton swabs (Q-tips) or a small spatula: For detailing those impossibly small crevices.
The Definitive Guide: How to Clean the Base of the Juicer Step-by-Step
Ready to restore that showroom shine? Here is the foolproof process our team at Citrus JuicerR uses. Follow these steps, and your juicer base will thank you.
- Safety First: Unplug Everything!
This is non-negotiable. Before you even think about cleaning, always disconnect the juicer from the power outlet. Water and electricity are not friends. - Disassemble and Clear the Area
Remove all the washable parts—the cone, the filter, the pitcher. Set them aside to be washed separately. This gives you clear, unobstructed access to the base. - The Initial Dry Wipe
Take a dry microfiber cloth and give the entire base a thorough wipe-down. This will remove any loose dust, pulp, or surface grime before you introduce any moisture. - Tackle the Everyday Stickiness
Dampen a microfiber cloth with warm water and a tiny drop of mild dish soap. Wring it out well; you want it damp, not sopping wet. Gently wipe down the entire surface of the base, paying extra attention to areas where juice is likely to have dripped. The warm, soapy water will easily dissolve most fresh sugary spills. - Calling in the Reinforcements for Stubborn Stains
Have a spot that won’t budge? It’s time for baking soda.- Create a thick paste by mixing a tablespoon of baking soda with a teaspoon of water.
- Apply this paste directly to the stubborn stain.
- Let it sit for 5-10 minutes. The baking soda will gently break down the hardened sugar without being abrasive.
- Use your damp cloth or a soft brush to gently scrub the spot in a circular motion. The stain should lift right off.
- Sanitize and Deodorize with Vinegar
For a final hygienic pass, mix equal parts white vinegar and water in a small bowl. Dip a clean cloth into the solution, wring it out thoroughly, and wipe down the base one more time. The vinegar will kill lingering bacteria and neutralize any odors. Don’t worry, the vinegar smell will disappear as it dries. - Detailing the Nooks and Crannies
This is where the toothbrush and cotton swabs come in. Use the damp toothbrush to gently scrub around the edges of buttons, the seam where the base meets the counter, and any air vents (be very careful not to push moisture into the vents). Use a cotton swab for even tighter spots. This is the step that separates a “clean” juicer from a “spotless” one. - Dry, Dry, Dry!
Take your final, completely dry microfiber cloth and buff the entire base. Make sure there is absolutely no moisture left, especially near the power cord or any openings. This prevents water spots and ensures it’s safe to plug back in.
Common Cleaning Mistakes to Avoid
Knowing how to clean the base of the juicer also means knowing what not to do. Avoid these common pitfalls to protect your appliance.
- Never Submerge the Base: The base houses the motor and all the electrical components. Submerging it in water will destroy your juicer. Period.
- Avoid Harsh Chemicals: Bleach, ammonia-based cleaners, or abrasive powders can discolor, damage, or even crack the plastic or stainless steel finish of your juicer.
- Don’t Use Steel Wool or Abrasive Sponges: These will leave a web of fine scratches all over your beautiful appliance. Stick to soft cloths and brushes.
- Never Spray Cleaner Directly Onto the Base: Spraying liquid directly can cause it to run into the motor housing. Always apply the cleaning solution to your cloth first, then wipe the juicer.
As home appliance engineer Dr. Eleanor Vance always says, “The biggest threat to a small appliance’s longevity isn’t wear and tear—it’s improper cleaning. Moisture and residue getting into the motor housing via the vents is a primary cause of premature failure. Always clean with a damp cloth, never a wet one.”
Frequently Asked Questions (FAQ)
Q: How often should I clean my juicer’s base?
A: For best results, give the base a quick wipe-down with a damp cloth after every use to catch any fresh drips. A more thorough, deep clean following the steps above should be done at least once a week if you’re a daily user, or every 2-3 weeks for occasional juicers.
Q: There’s a stain on the base that just won’t come out. What can I do?
A: For very tough, set-in stains, try making the baking soda paste and covering it with a damp paper towel. Let it sit for up to 30 minutes before gently scrubbing. If it’s a citrus stain on white plastic, sometimes leaving the base in a sunny spot for an hour can naturally bleach the stain out.
Q: My juicer base has a faint sour smell. How do I get rid of it?
A: The white vinegar wipe-down is your best bet. Vinegar is excellent at neutralizing odors. Ensure you’re cleaning in all the small crevices where old juice might be hiding. Wiping the base with a cloth dampened with a bit of water and a drop of vanilla or lemon extract can also leave a pleasant scent.
Q: Can I use a magic eraser on my juicer base?
A: It’s best to be cautious. Magic erasers are a micro-abrasive and can dull the shiny finish on some plastics and metals. Test it on a small, inconspicuous area (like the very bottom of the base) first to see how the surface reacts.
Q: The power cord is sticky. How do I clean that?
A: Great question! The cord often gets overlooked. With the juicer unplugged, use the same damp, soapy cloth to wipe down the length of the cord. Follow up with a clean, damp cloth to “rinse” it, and then dry it thoroughly before plugging it back in.
A Clean Base for a Brighter Morning
There you have it—everything you need to know about how to clean the base of the juicer like a pro. It might seem like a small chore, but it pays huge dividends in the long run. A clean base means a more hygienic kitchen, a longer-lasting appliance, and the peace of mind that comes from taking great care of the tools that support your healthy lifestyle. Now, you can enjoy your next glass of fresh-squeezed sunshine knowing your machine is in peak condition, from top to bottom.